Father, Reddit refugee, EDC, Tech, 3D Printing, Retro Gaming
- 12 Posts
- 93 Comments
 1·11 months ago
Of course! Here is the PSU Foot:
https://www.thingiverse.com/thing:5793825
For my PSU it was a bit too thick, but I managed to mount it anyway.
Here is the Cover I made myself:
https://www.printables.com/de/model/601820-voxelab-aquila-psu-cover-for-92mm-fans
And fan cover is just some basic 92mm cover, there are plenty out there.
The Mainboard housing also is my own creation, but I failed horribly with the screw holes for the board, so I strapped it in there using cable ties for now. I have to make another version some day that is good enough to be uploaded.
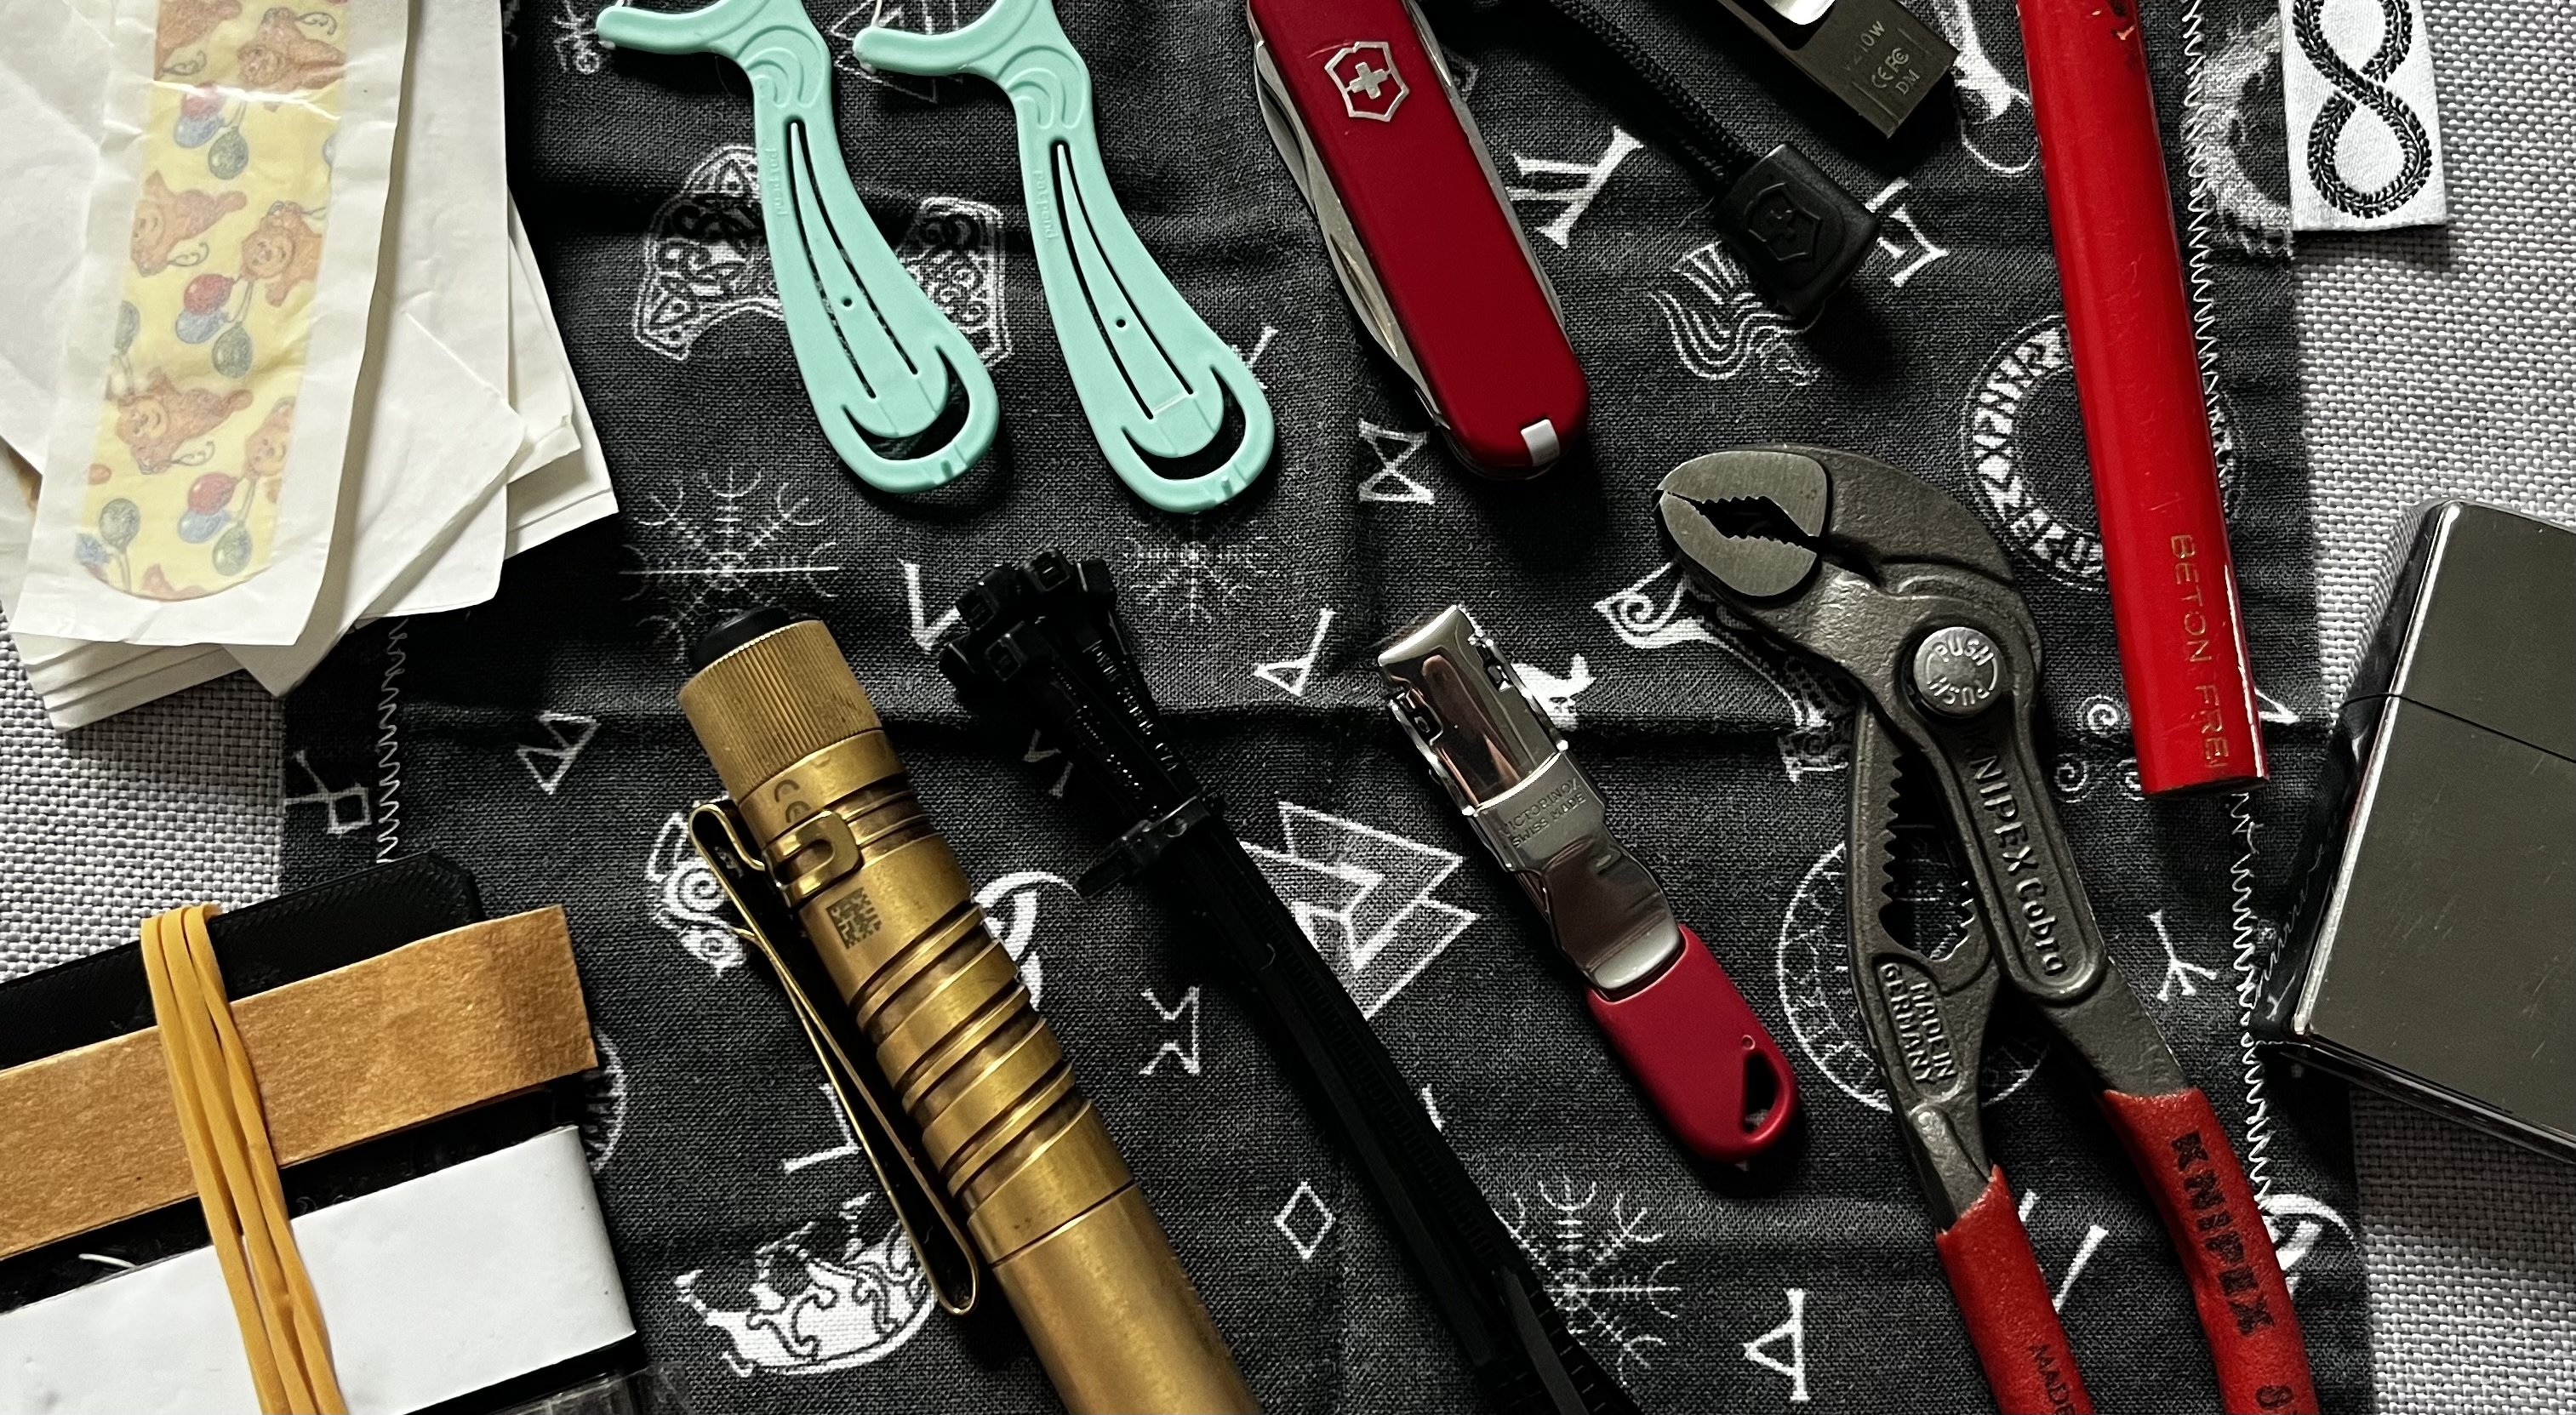
Oh yes, me too :D I got one for the waste of each material I am printing. PLA, PETG and TPU
For anyone interested in the upgrading process of my Aquila… I just posted my printer
Ah okay, I already thought someone stole my design (not that it would have any financial impact, but even though I would be mad - I would at least want to be mentioned as this - even though its „just“ a remix - took hours to make). Thank you, that would be interesting :)
The old one is printed on my standard Voxelab Aquila. The new one also is printed on the same Voxelab Aquila, but heavily modified in the meantime (DirectDrive, PEI bed, Enclosure, Filament dryer, Octoprint, Electronics placed outside the enclosure for better cooling and so on…)
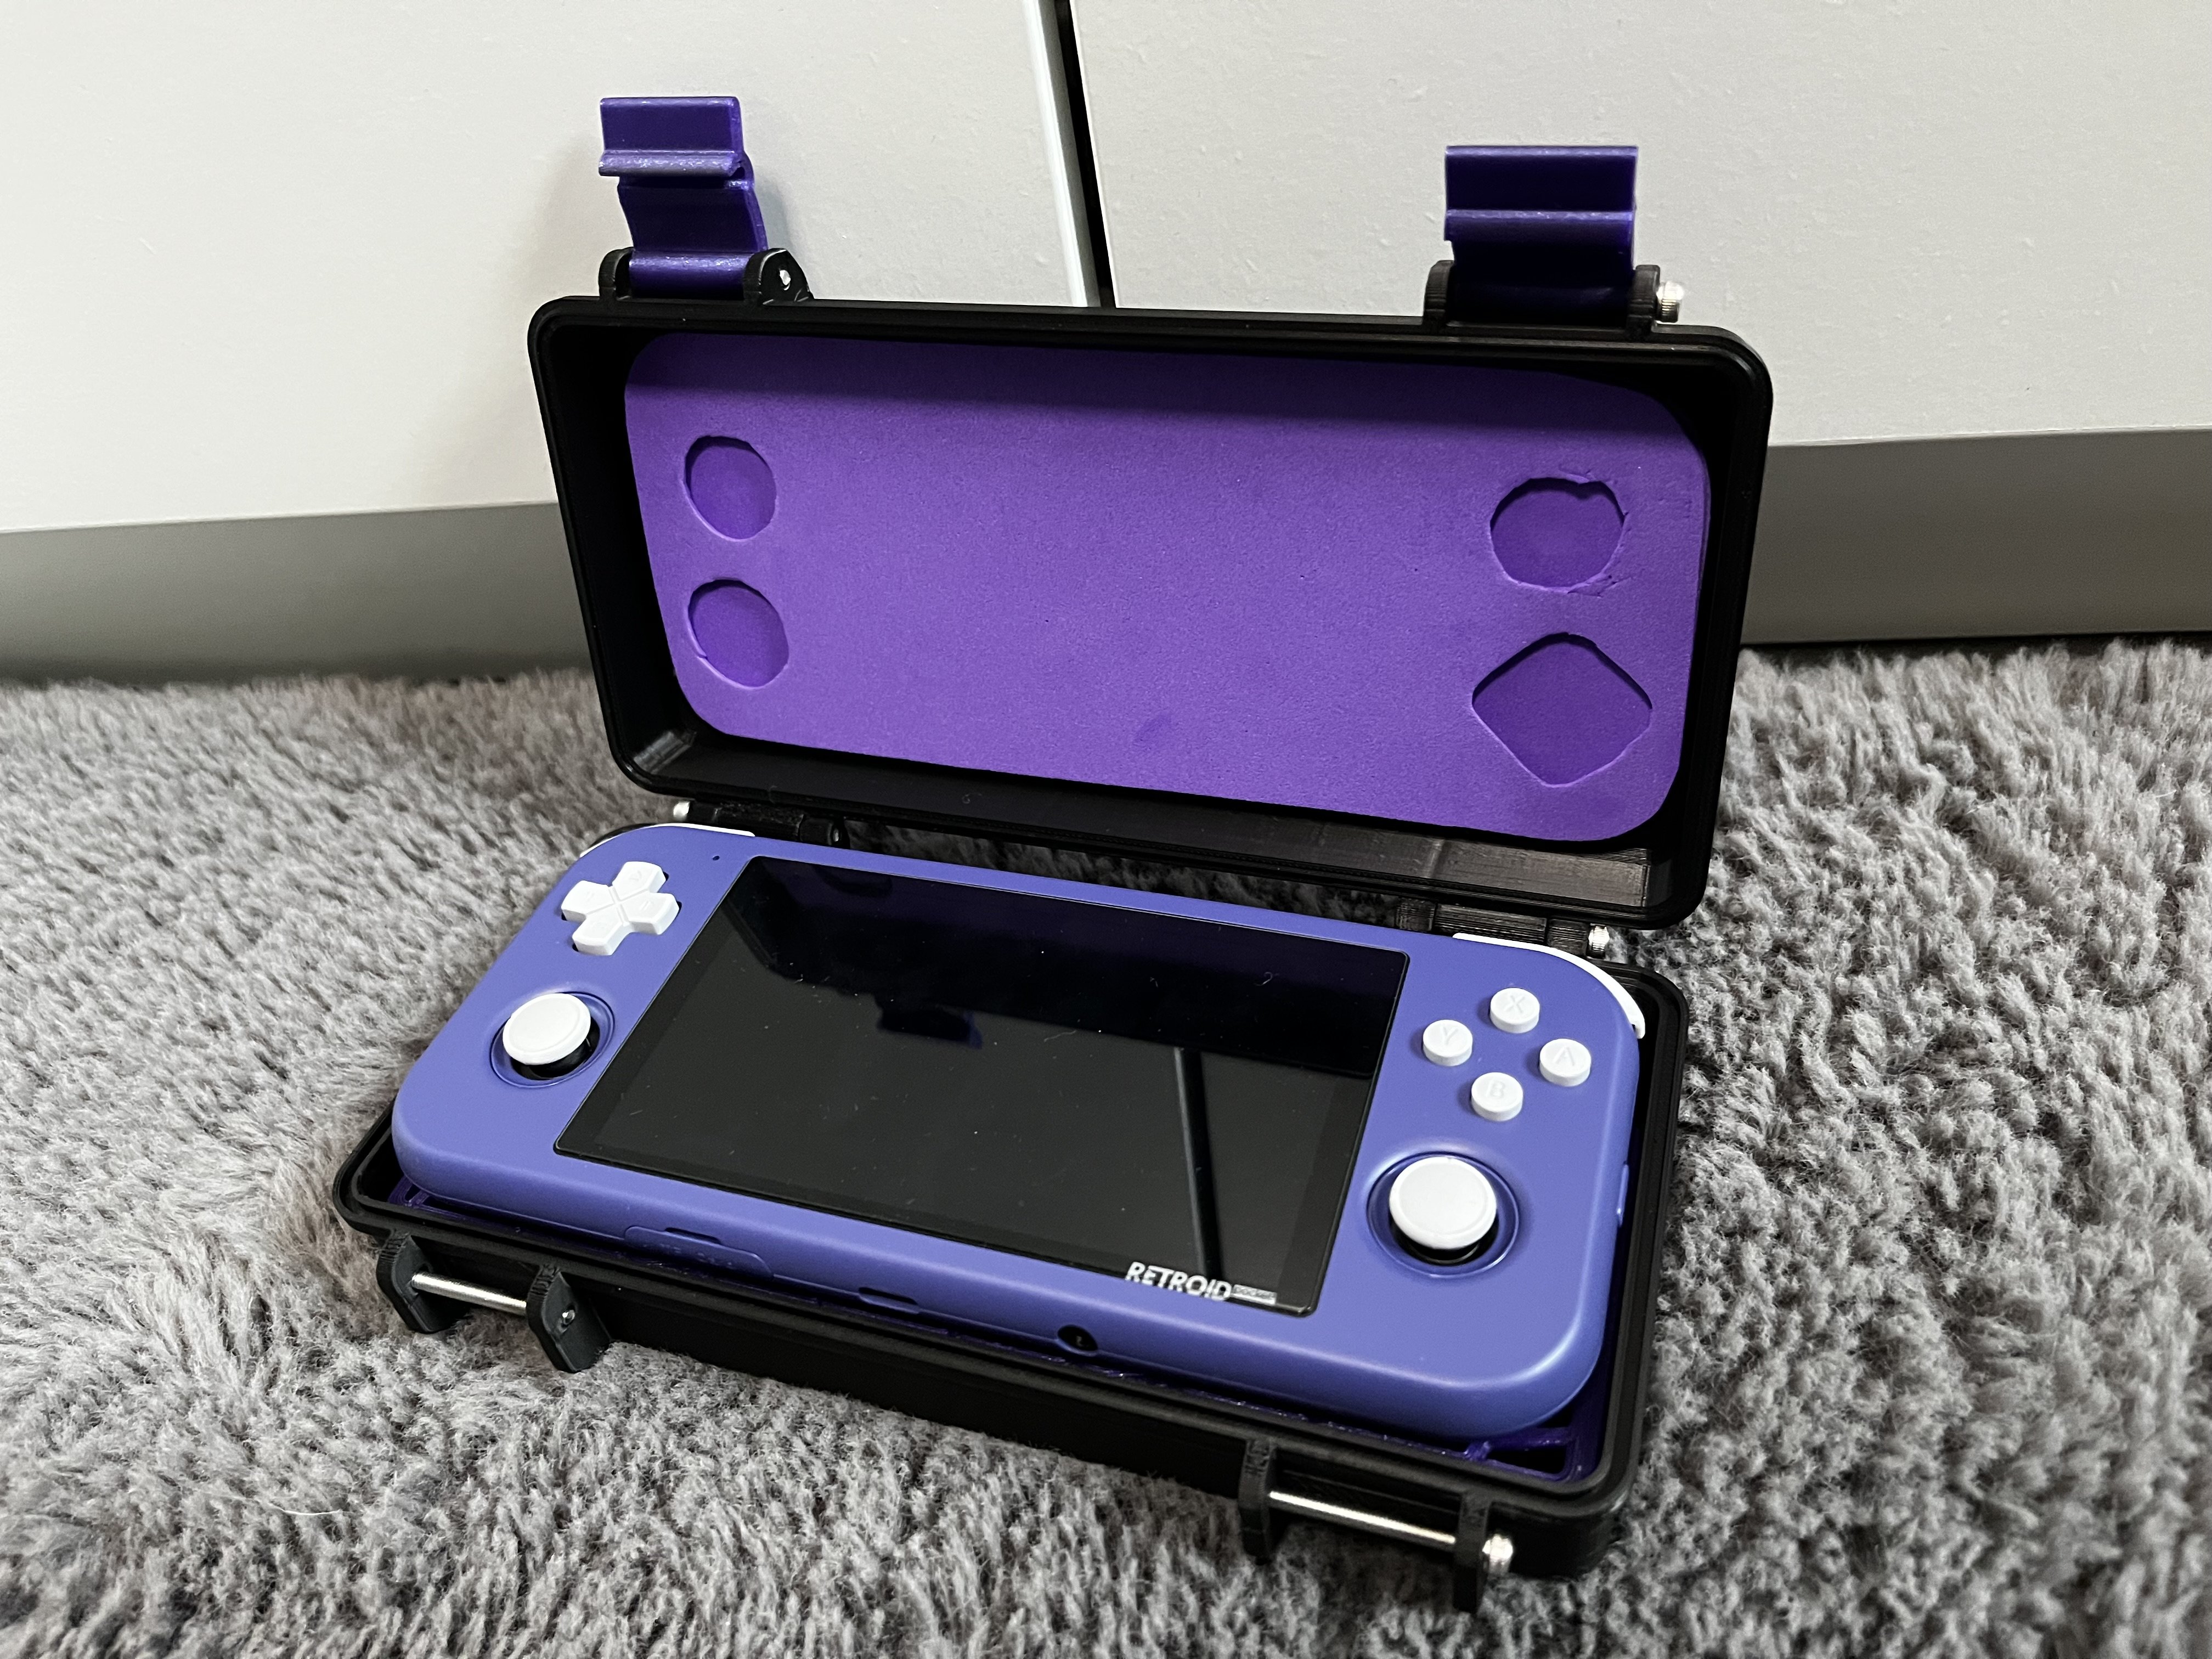
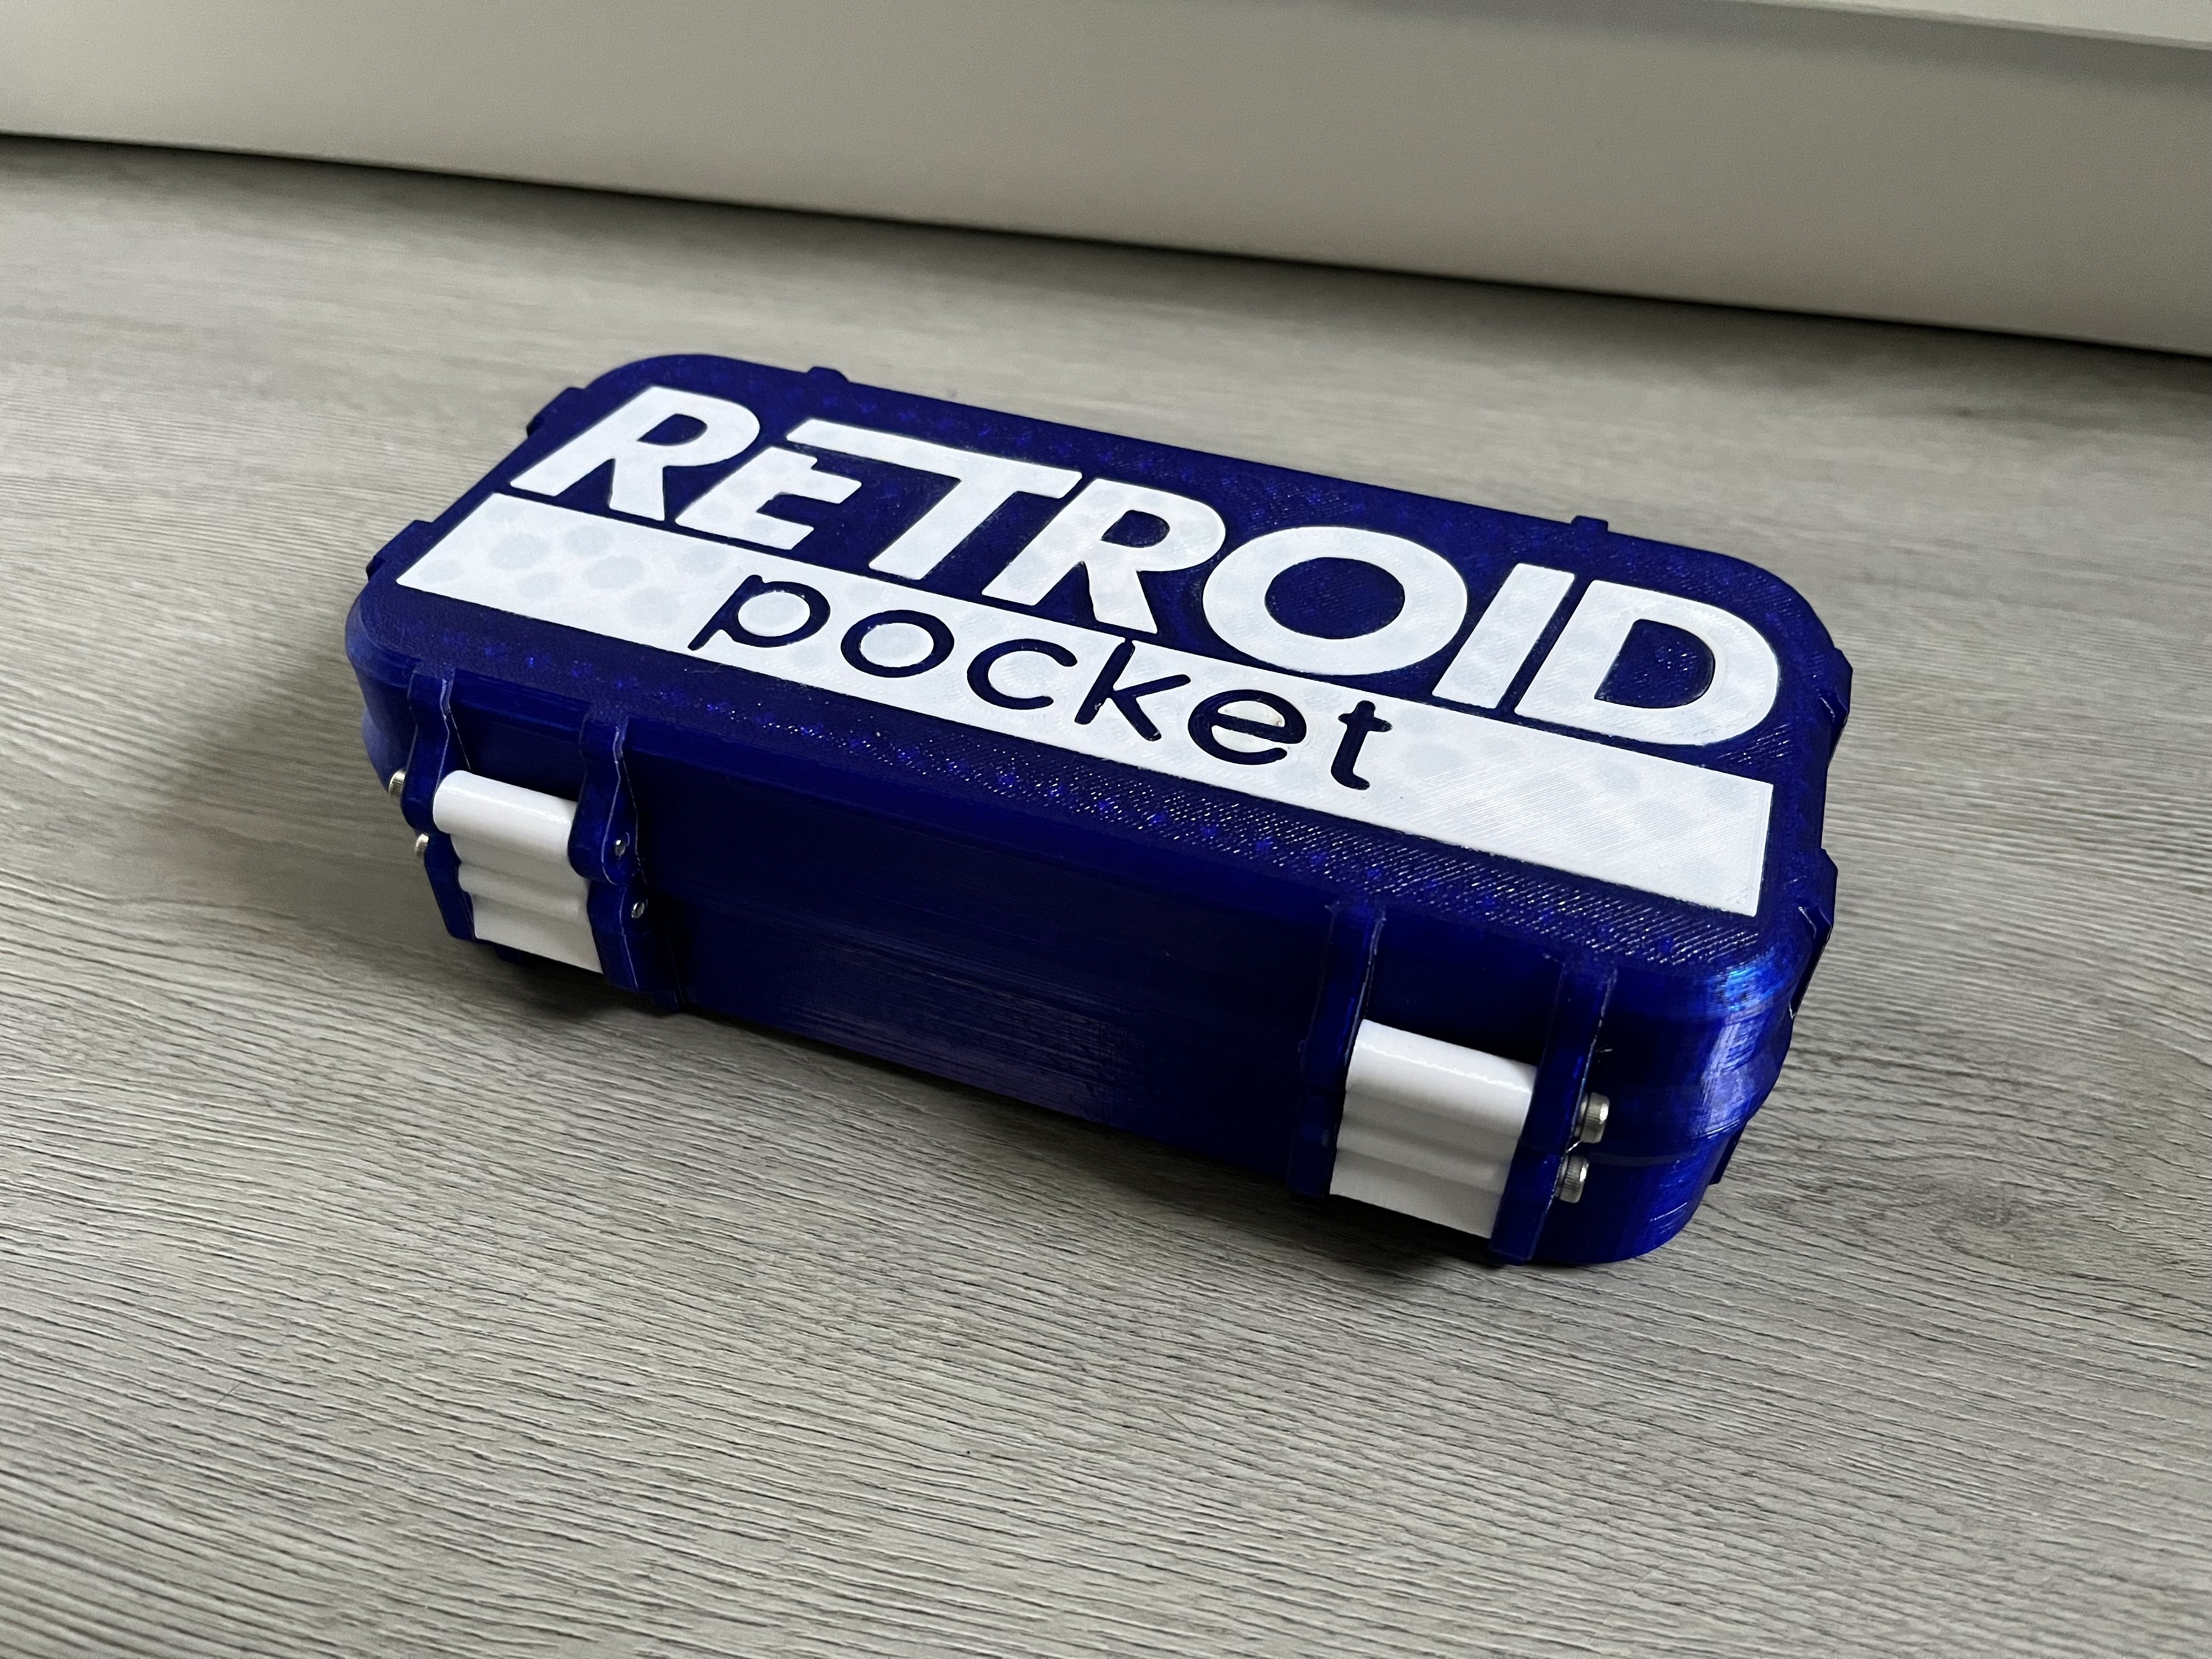
That’s because the base of my model is whity‘s parametric box (but from printables. It’s also linked to my model). I modified it‘s dimensions and added the divider + TPU Inserts + Logo on top, so that it fits the Retroid. But I don’t know the model from thingiverse, do you have a link? Is there a exact copy of my Retroid box?
I am glad to hear that :D Did you find something so far? Or is there already a plan? Wasn’t timed on purpose, I finished the box this morning and am so hyped right now, that I had to share with somebody
I missed them, too. So happy i could bring this one back to life :)
Ahhh I see… the good old spaghetti infill exposing
No, I do torch it directly. I use a screwdriver afterwards to form it the way I want it. And a normal gas lighter always leaves soot residue you should avoid to get on your prints.
Yes. I use it for all kind of little imperfections on my prints. Together with some metal piece with a small flat surface (e.g. flathead screwdriver). So I can warm it up and smooth it out a bit. Very thin stringing is gone like instantly. As it gets bigger, you have to be careful and patient.
Or one of these:

Ah okay! Nice! Did you have to change something other than the bed to make use of its size (on the hardware)?
That printbed looks huge! What printer is that and how big is that bed?
I recently was dumb enough to tell Alexa to power off the smart plug of my printer. 5 hours into that print… While I was looking at it printing… huge brainfart… After that I looked into the void for 20mins thinking about how dumb I am…
I get your problem, yes. I also tried printing a bumper for my work phone in PLA a couple times before I was able to print TPU and it always took like 2 weeks until it broke. Those materials don’t like being put under pressure permanently. I didn’t try PETG, could imagine it to be a little better, even though it won’t absorb any impact if dropped.
Maybe, yes :D I think maybe I can somehow get only the back part to be printed without top and bottom, would definitely look more professional. I need to play around a bit with my slicer.
That sounds durable, but not flexible. Am I right?
Yes, I use the free version. I tried TinkerCAD, but actually I find it more difficult than fusion :D But I highly recommend getting a 360 CAD mouse for better use.
Sorry for the late answer. It’s this one:
https://amzn.eu/d/04M6Ih6n